Campaigns: Create, Schedule, and Send Your Newsletters
Campaigns are the emails you send to your contacts.
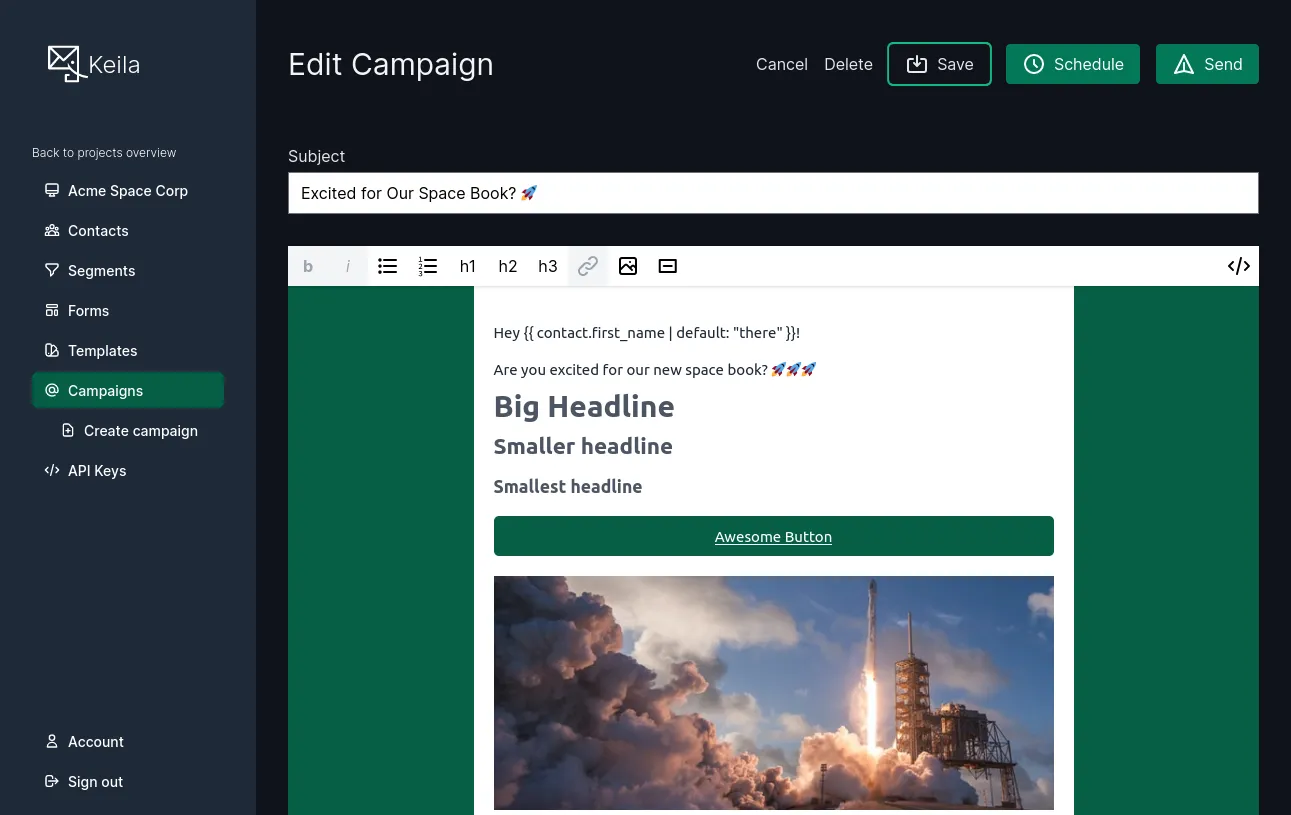
In order to create a new campaign, navigate to the Campaigns page from the main menu and click on Create new Campaign.
You can then choose a subject for your campaign and a your preferred editor. Currently, you can choose between the Block Editor, the Markdown editor, and the plain text editor.

Liquid Templating
Keila supports the Liquid template language in campaigns. The following Liquid assigns are available in every campaign:
{{ contact }}- Object with data about the contact receiving the email with the following properties:{{ contact.email }}{{ contact.first_name }}{{ contact.last_name }}
{{ unsubscribe_link }}- URL of the one-click unsubscription link
Custom data fields can be accessed through the contact.data property, for
example like this: {{ contact.data.my_field }}.
If not all contacts in your database have given their first name, Liquid’s default
tag is very useful.
Hey {{ contact.first_name | default: "there" }} will render as Hey Jane for
a contact with the first name Jane and as Hey there for a contact with no
first name set.
Markdown
Markdown campaigns support Liquid templating just like plain-text campaigns do. In addition, text you enter is processed as GitHub-flavored Markdown.
Since Markdown doesn’t natively support the creation of buttons, here’s a little trick you can use with Keila:
#### [Your text](https://example.com) #### is automatically turned into a
call-to-action button.
Scheduling Campaigns
You can schedule your newsletters to be sent at a later date. In order to do that, click on Schedule on the top right and select the desired date and time.